Woodwork
Unfortunately the few pictures I took during the construction have been lost. So I can only provide pictures of the nearly finished units.
For the double cones I have some pictures from the construction of an earlier, smaller version.
Rescued are a picture and a video about sawing the pentagonal plates.
Most pictures can be clicked for a larger version.
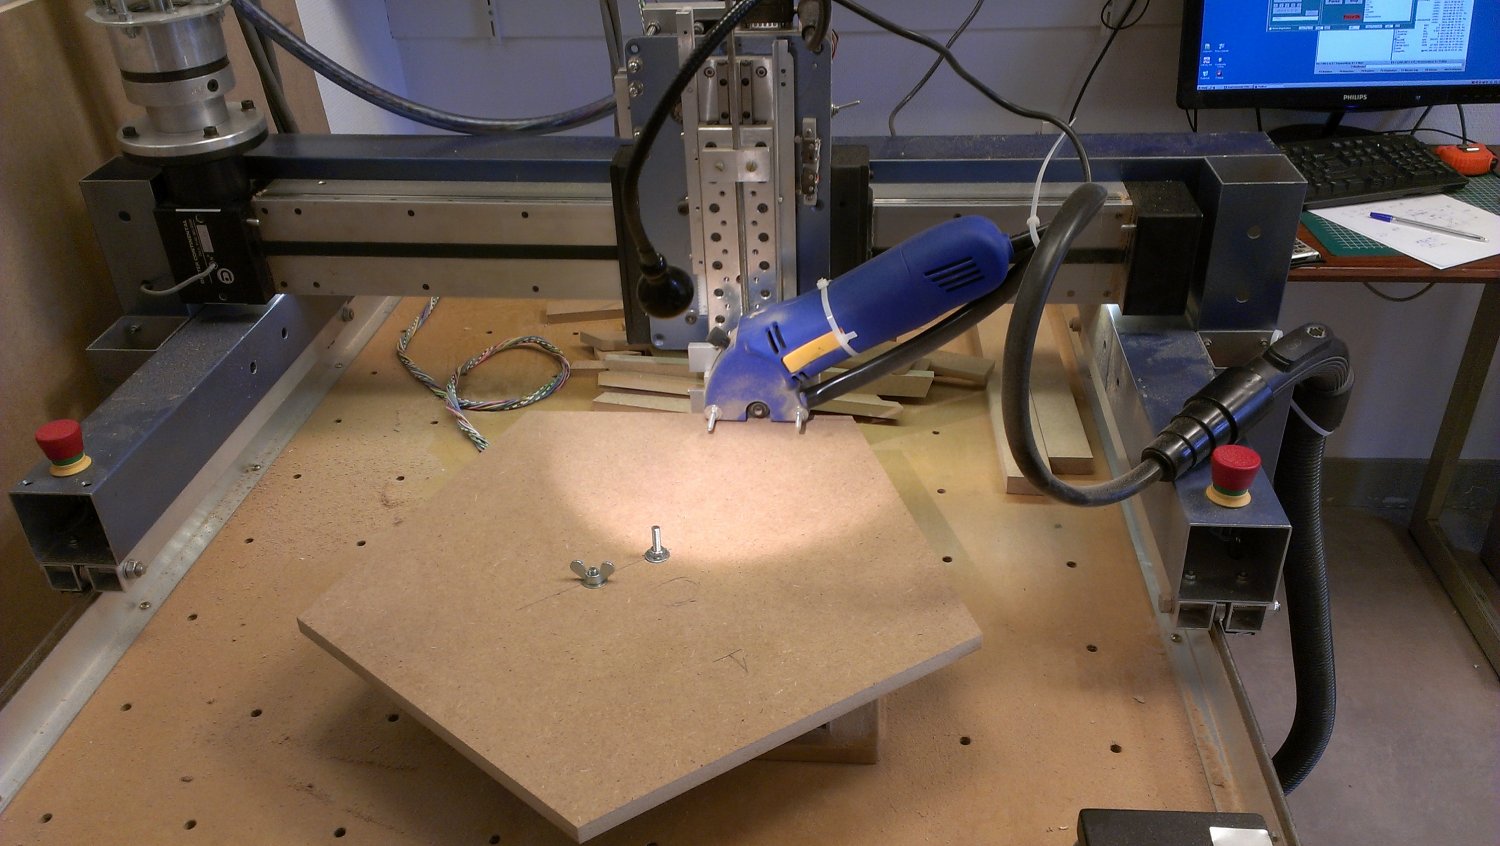
Sawing a pentagon.
Making the pentagons was done on a CNC machine which I built several years ago.
This machine is now located at the HackerSpace Arnhem (NL) www.hack42.nl . I am a participant there with the nickname JanBee.
A Video shows the cutting of one edge. After that (not in the video) the plate rotates 72 degrees by a stepper driven rotary table.
This sawing machine could not cut the 18 mm thick MDF, so I decided to make the pentagons from 2 layers of 12 mm thick MDF.
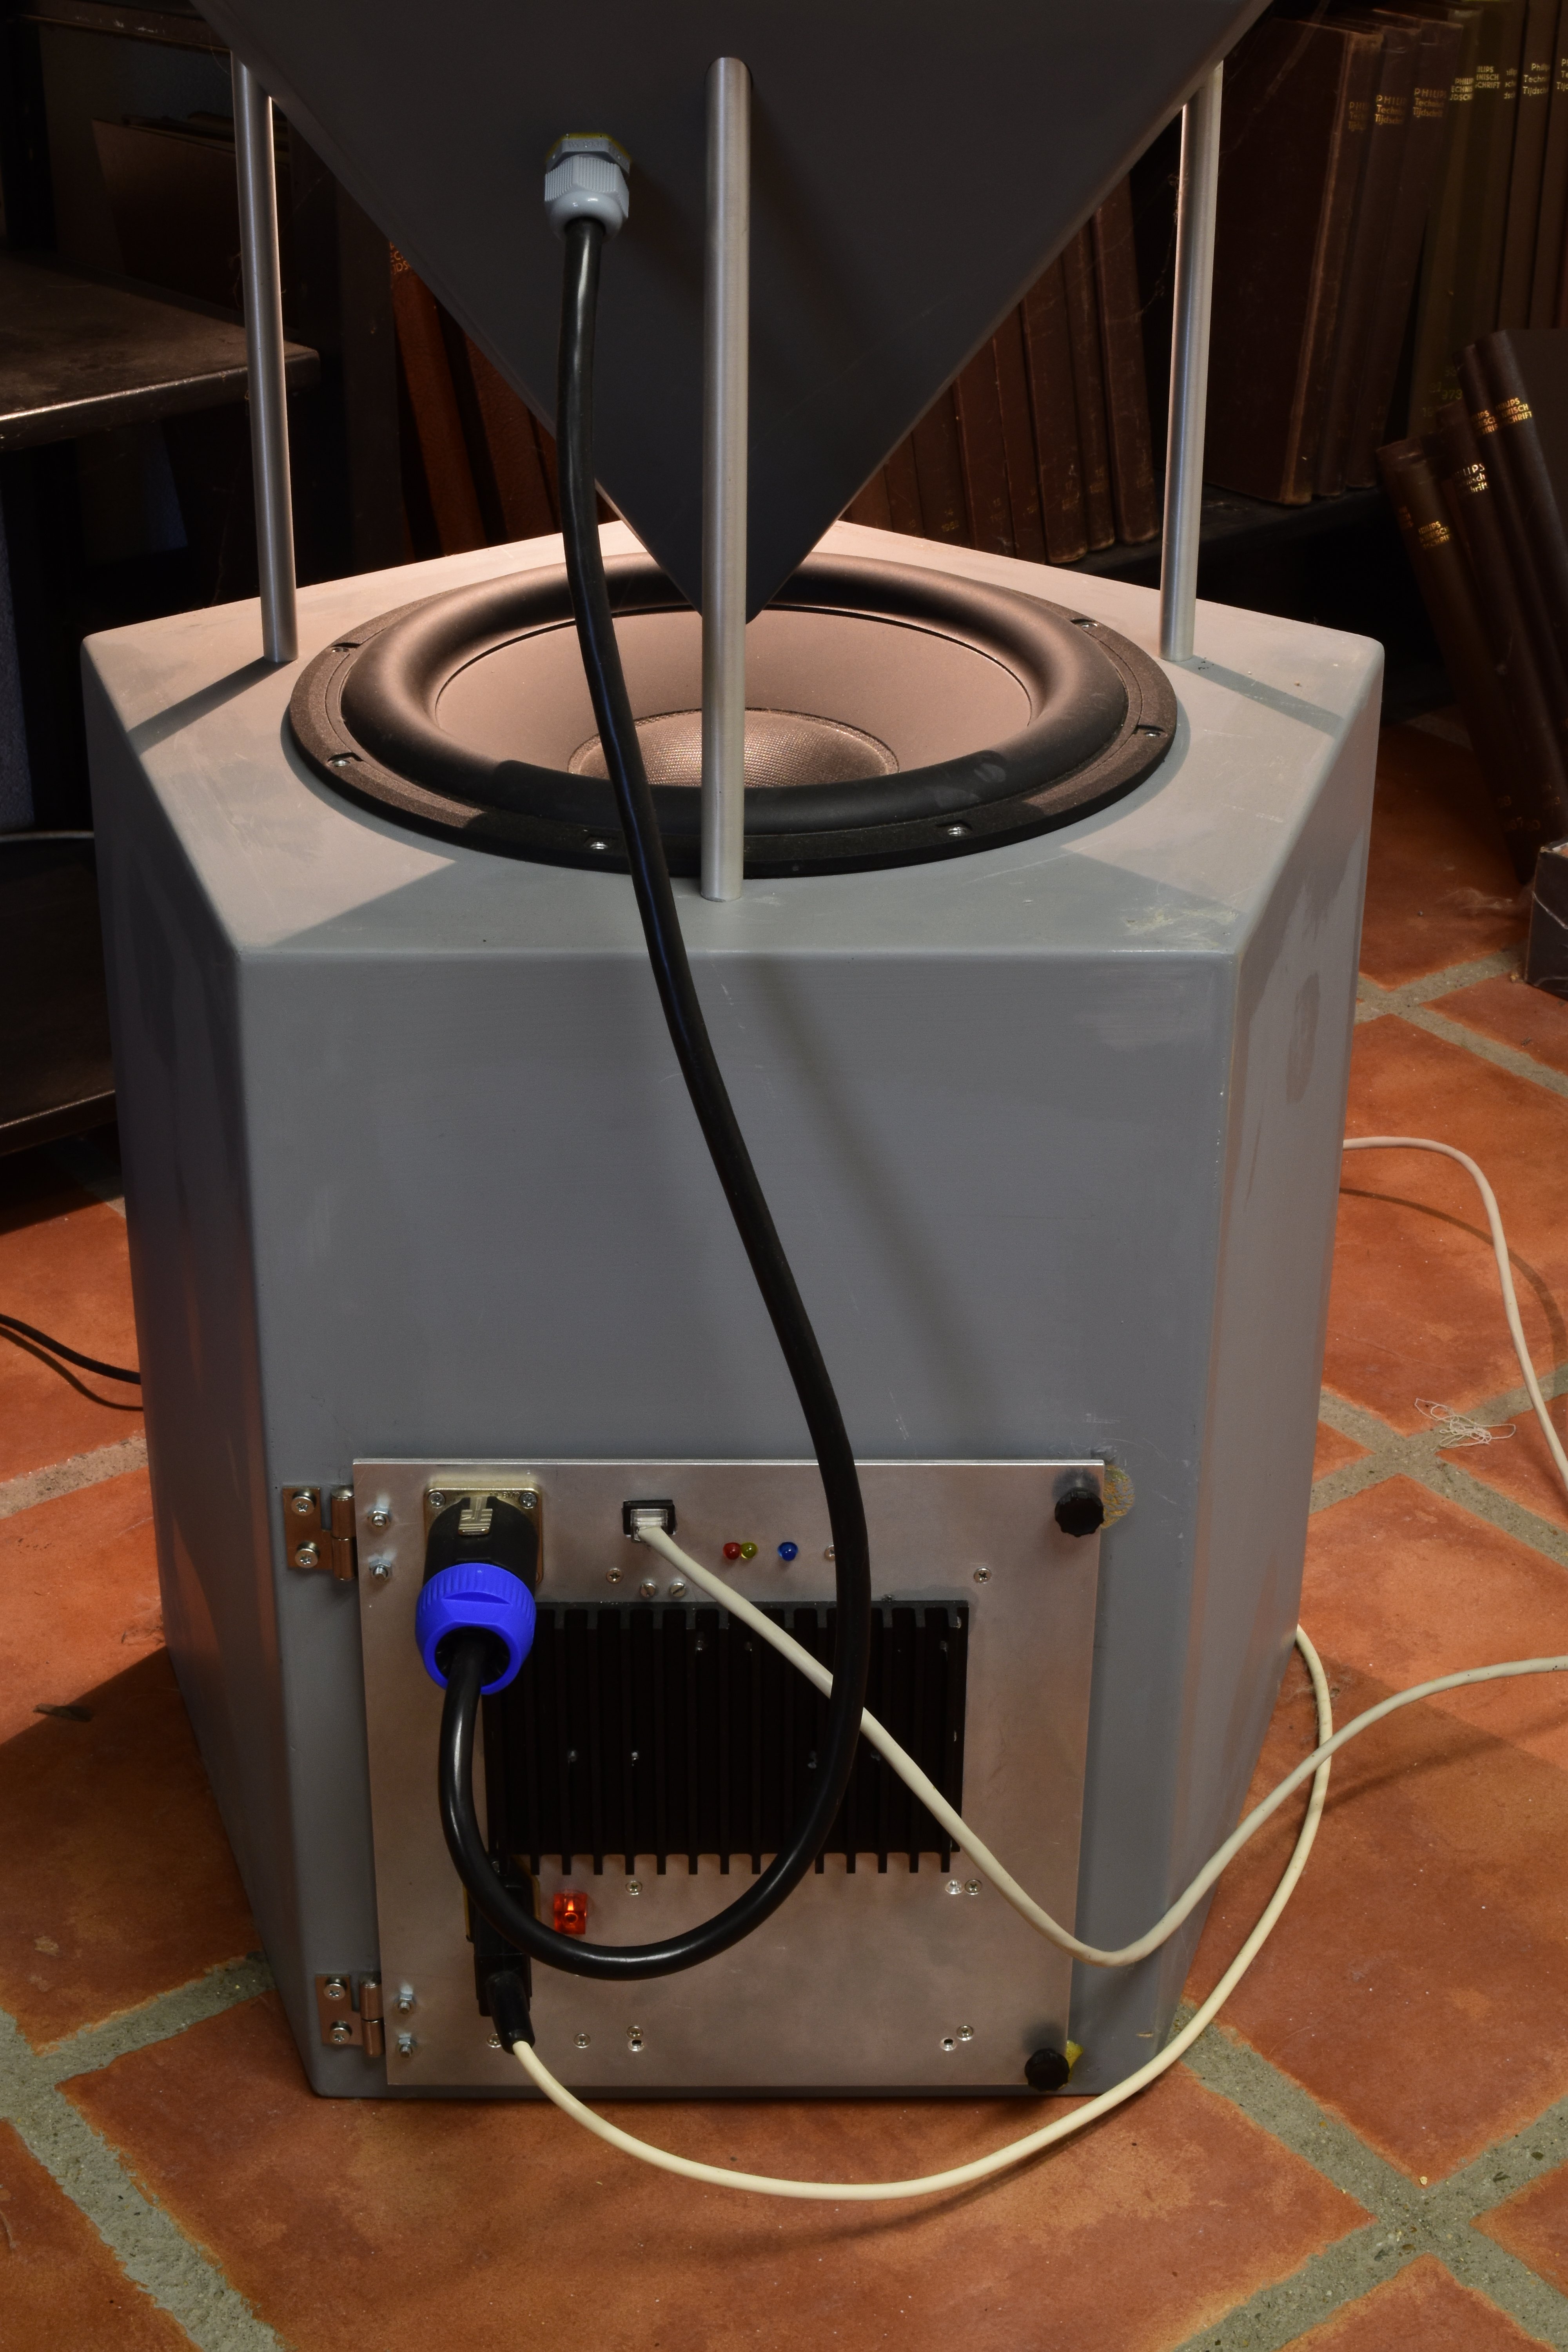
Rear View.
Note the Amplifier Panel with the hinges, screw-knobs to fix it, power and signal cables, and the Speakon connector to the Midrange unit where the cable enters through an airtight feedthtough.
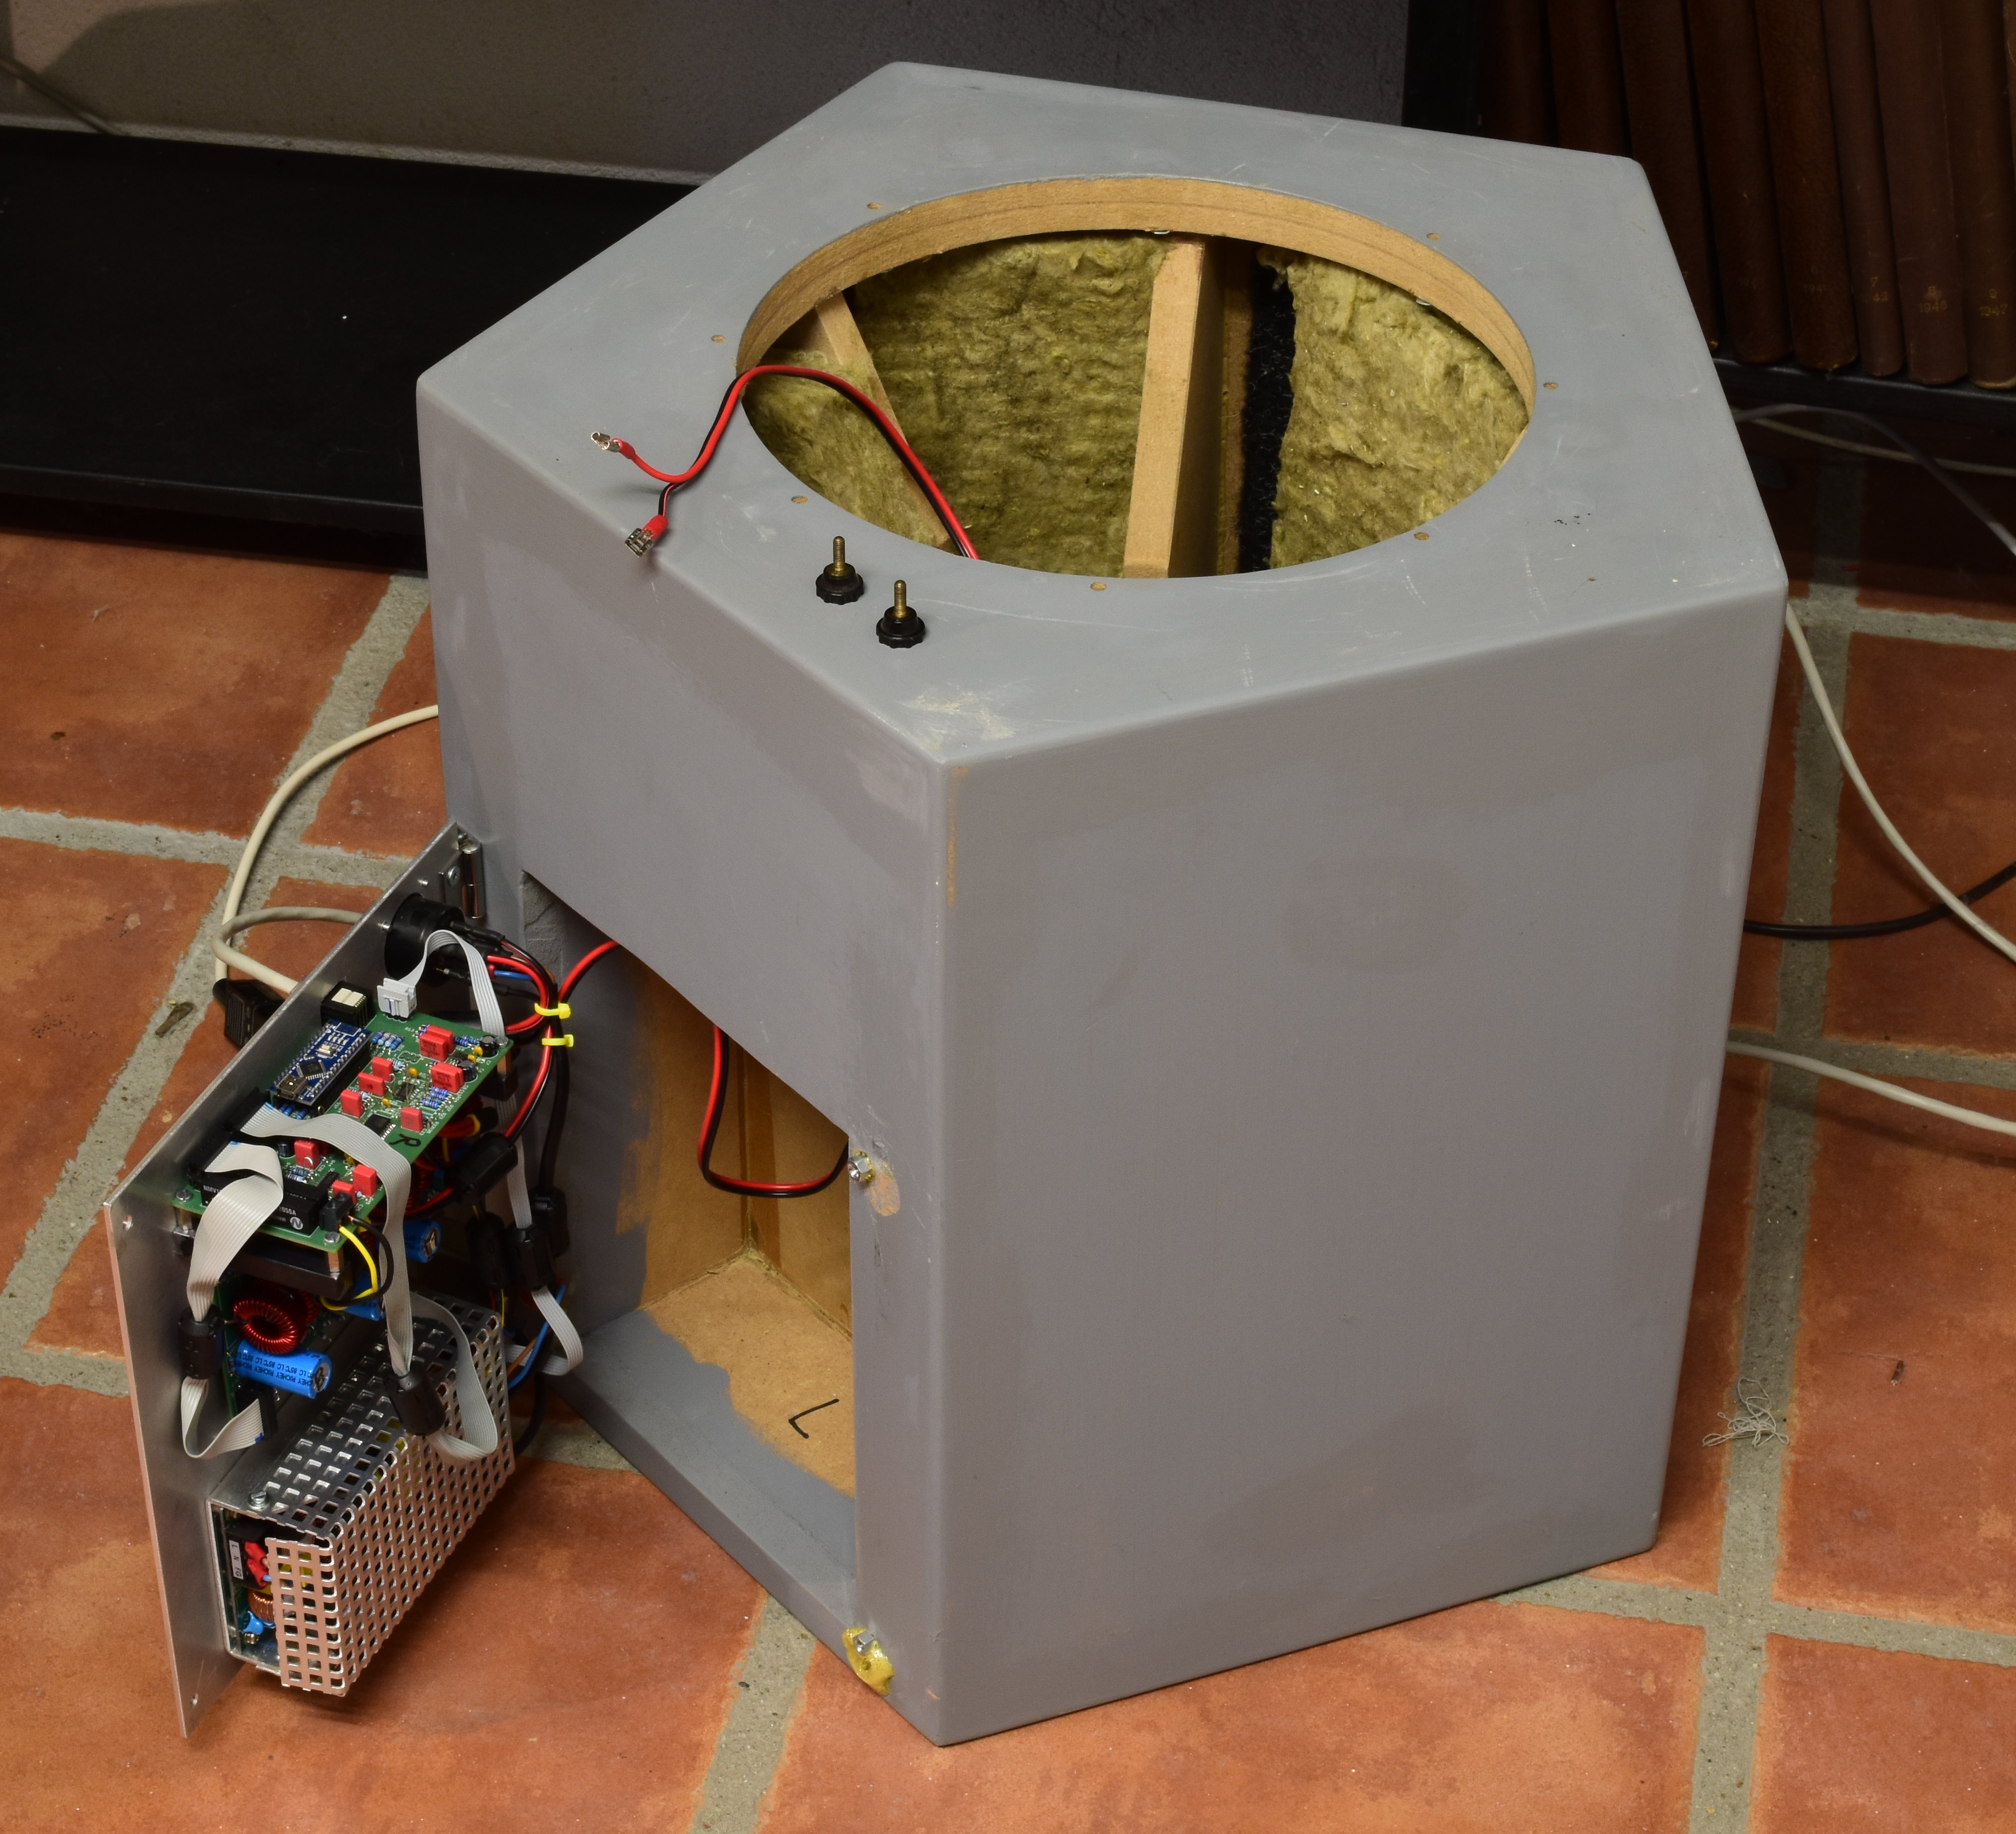
Rear view with open Amplifier Panel.

Inside the Bass unit.
Note the reinforcement boards perpenicular on the walls and the damping material in between.
Not visible: the walls are internally lined with a floor covering material, glued across the whole surface, to damp panel resonances.
Be sure that the bass unit is perfectly airtight. The slightest opening will produce hissing sounds when very low frequencies are produced.
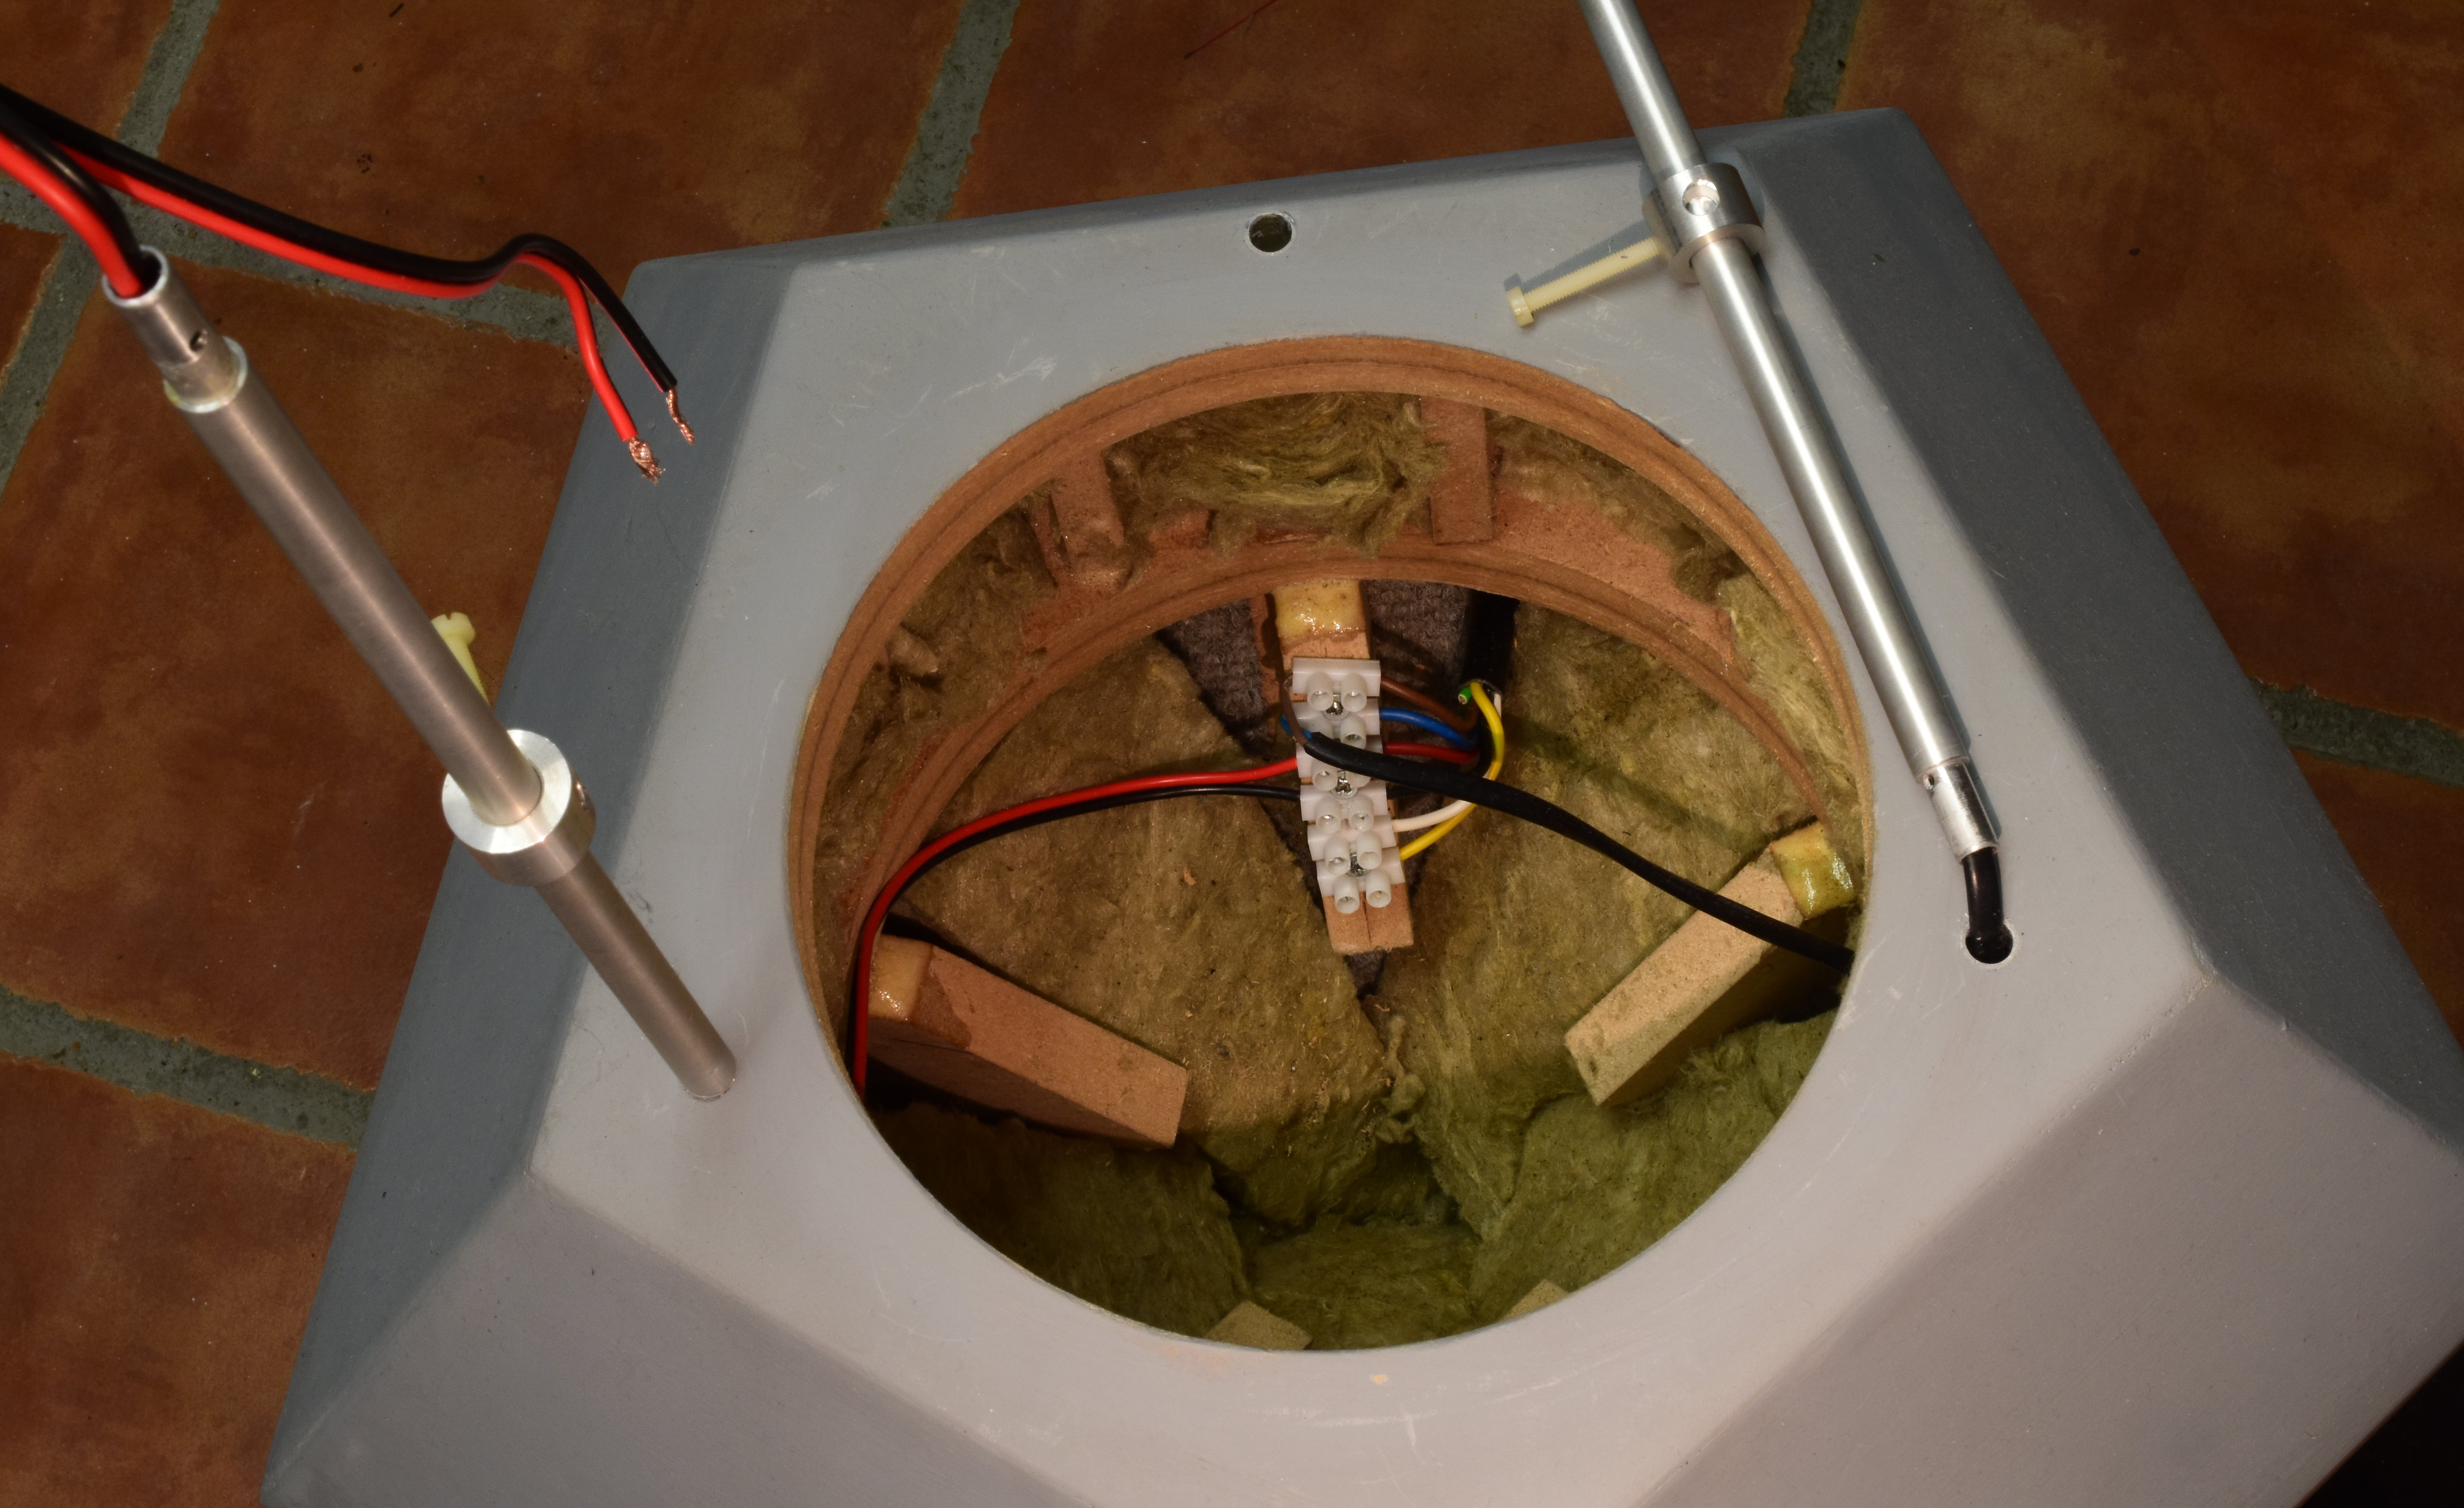
Inside the Midrange unit.
Note the reinforcement boards in the lower compartment. In the upper compartment there are ten of them, rigidly connecting the upper and middle panels.
Note the pillars on which the tweeter should rest. They consist of two aluminium tubes of different diameter glued together. Halfway are the rests for the cones. (yes, the nylon screws must be shortened) The two front pillars carry the wiring for the tweeter, signal and mains voltage for the high-voltage unit.
In the center sits a junction strip. Next to it a small piece of the floor-cover material (gray) is visible. Yellow and white are the wires to the midrange speaker.
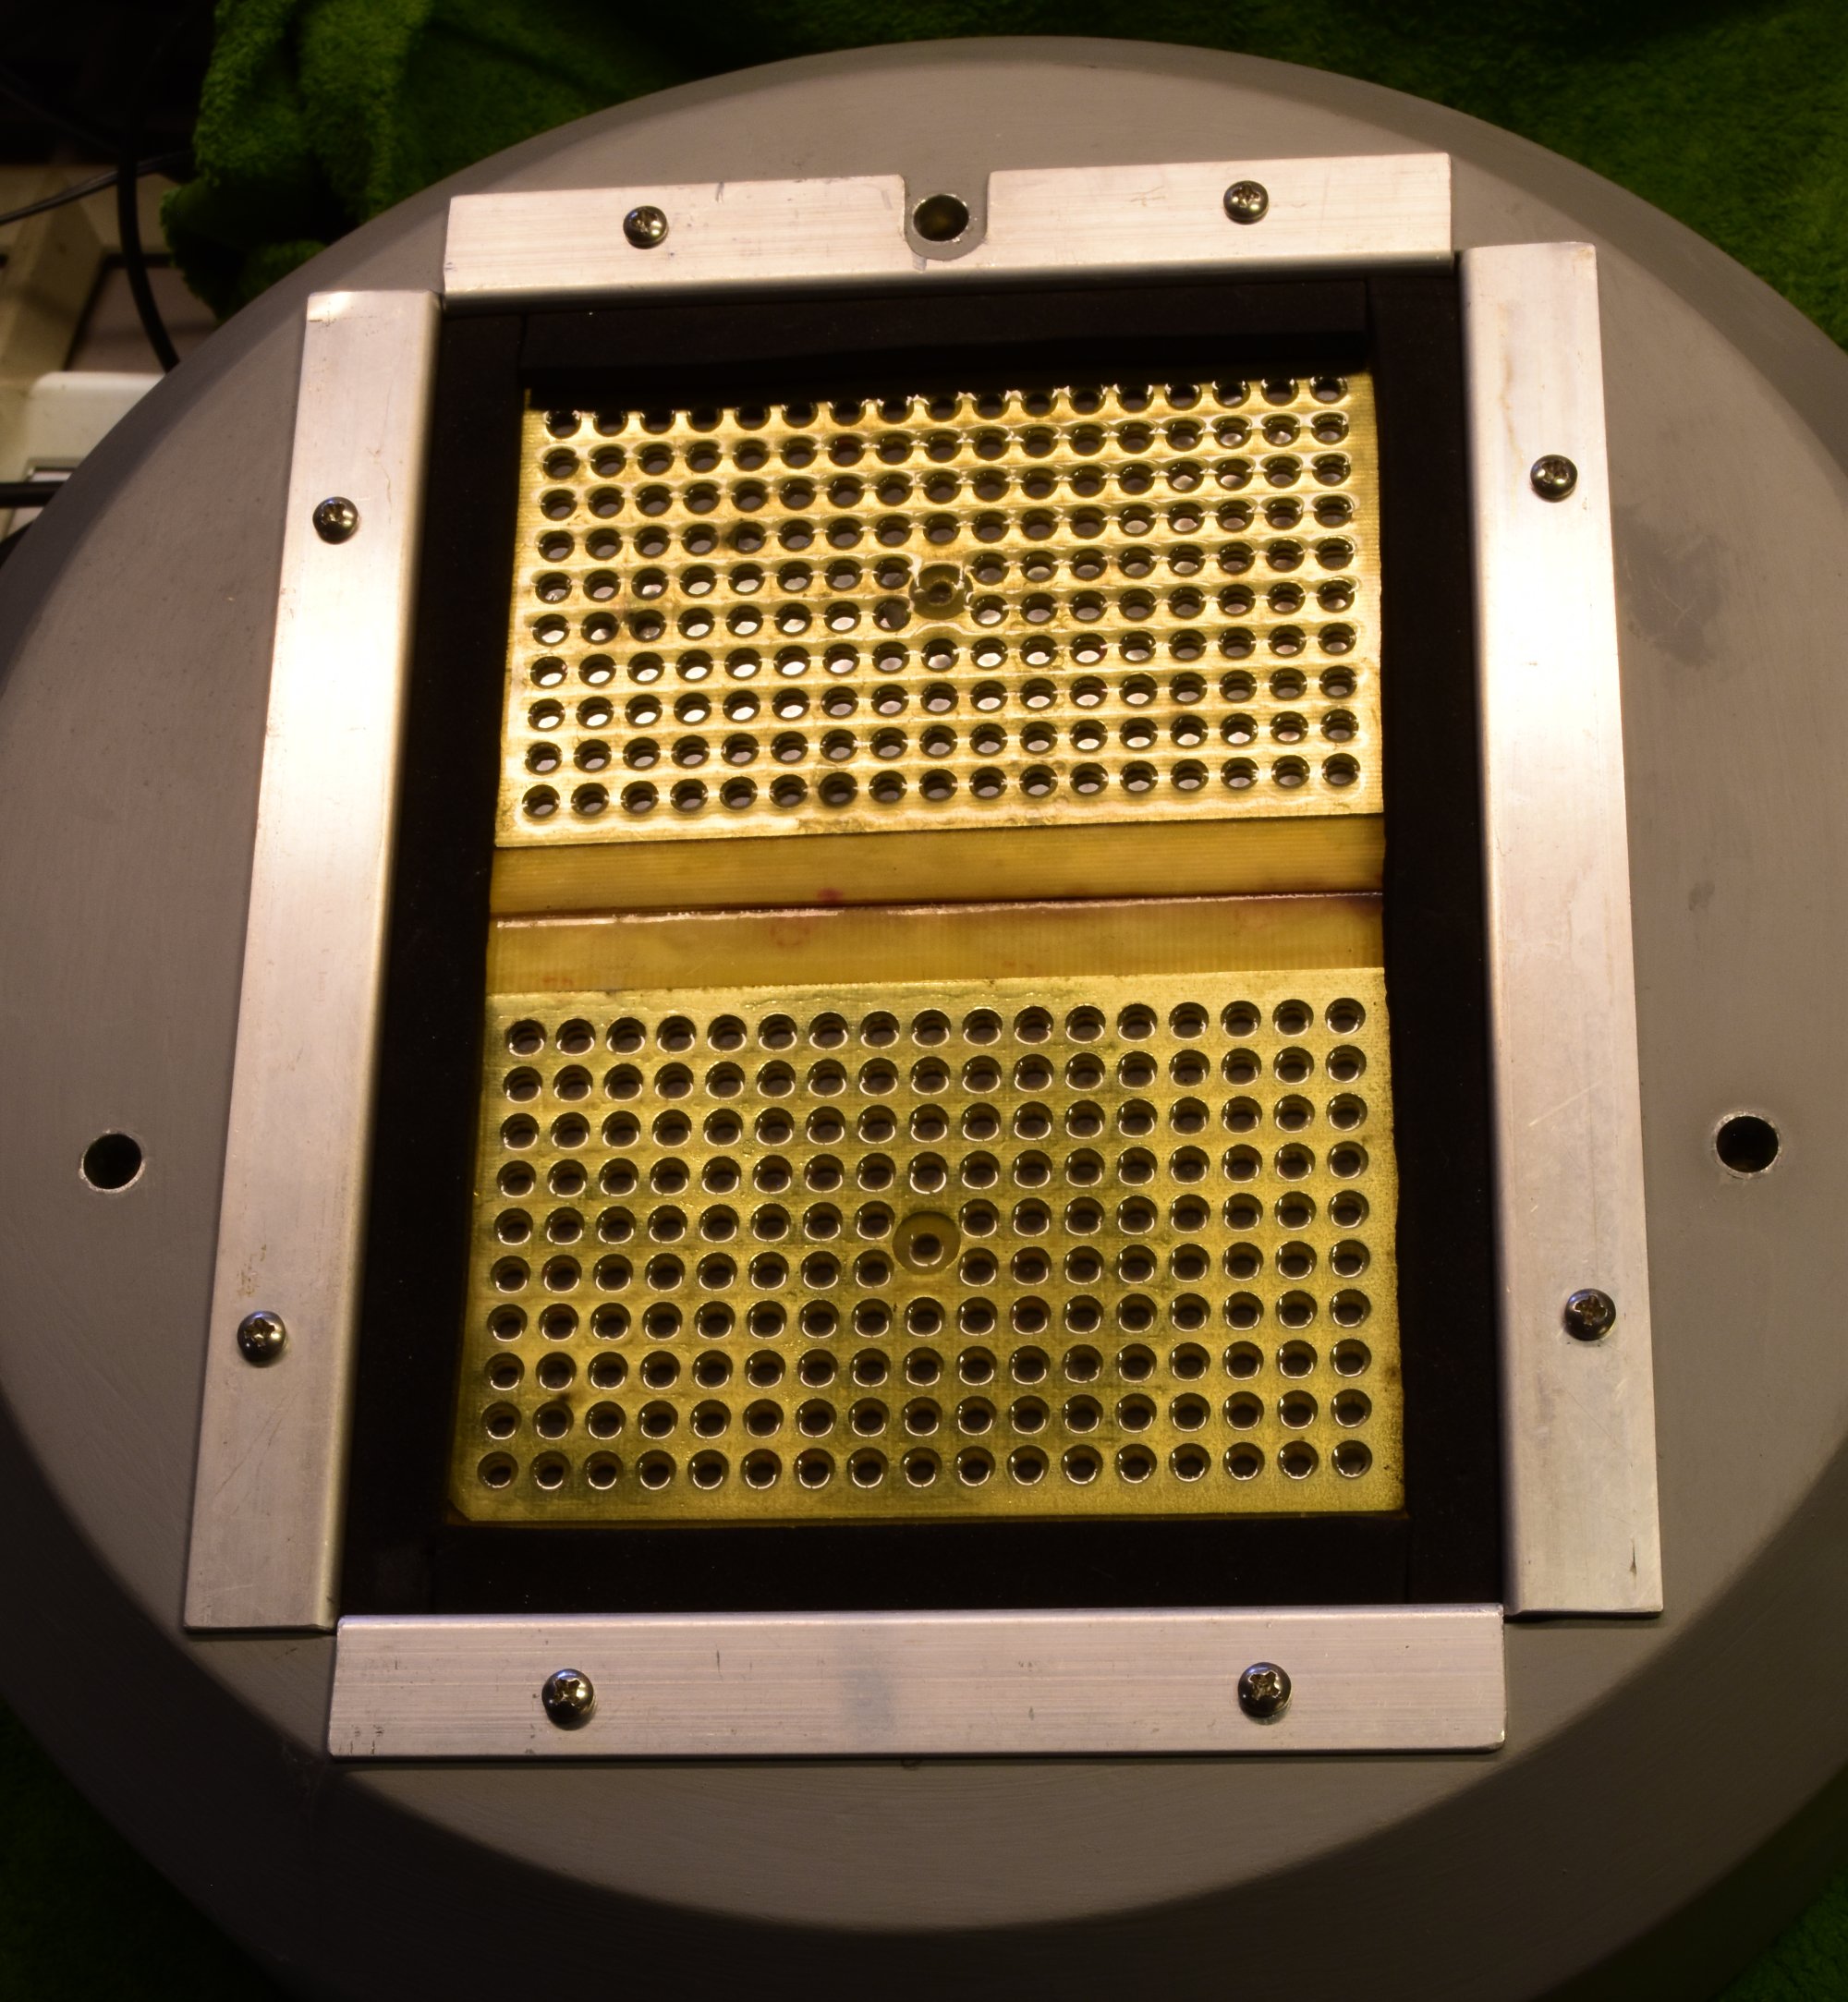
Tweeter unit seen from below.
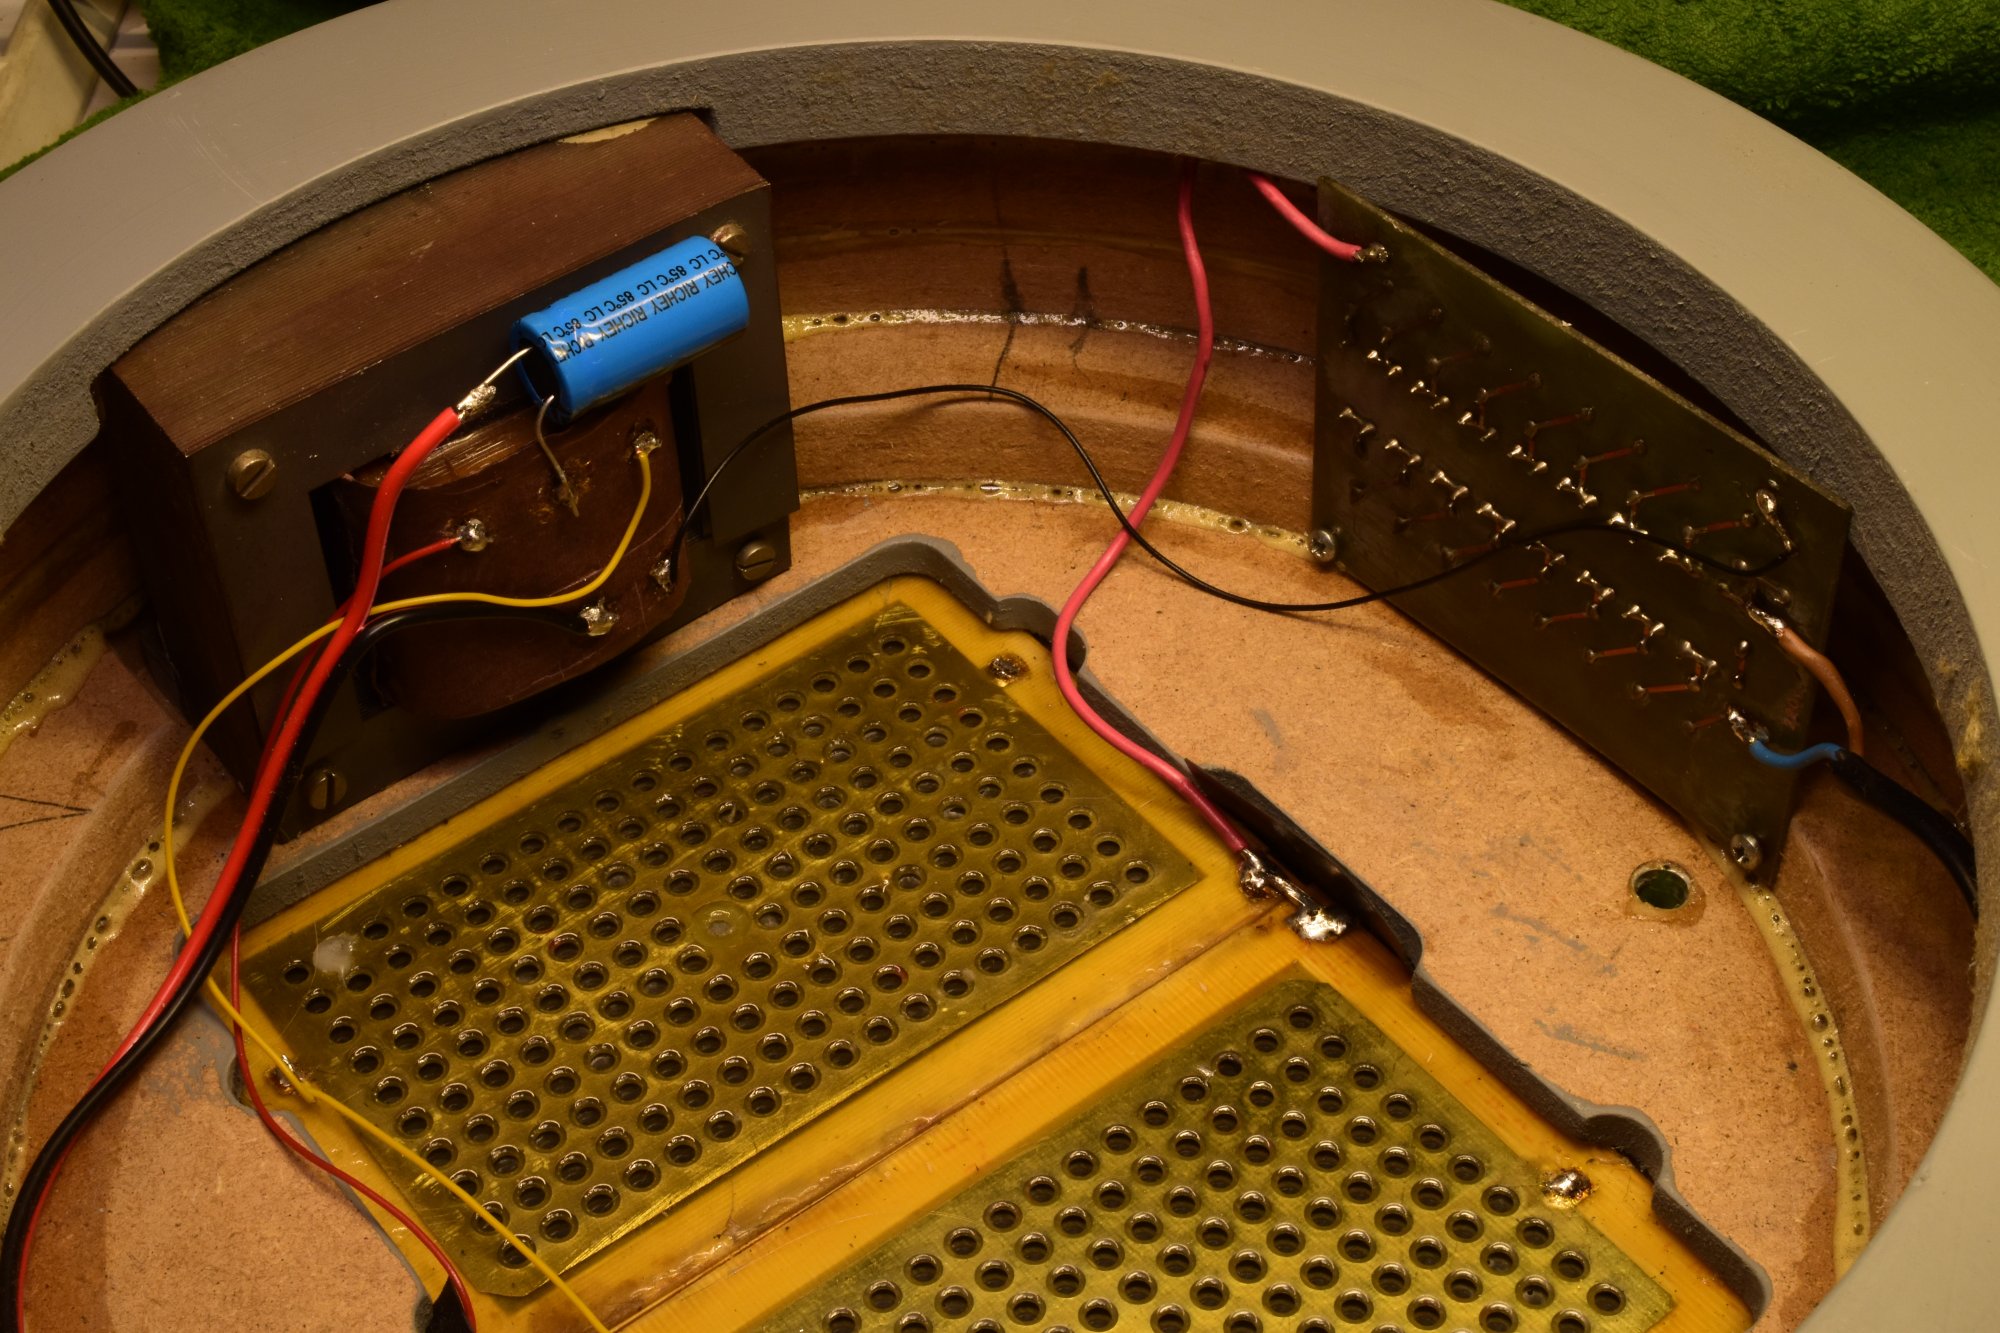
Tweeter unit inside.
Note the step-up transformer and the HighVoltage unit.
The wiring for the tweeter signal and mains power go through two of the three aluminium tubes on which the tweeter unit rests (1 hole visible near the HV unit).
For more details about the tweeter see the Tweeter Page.